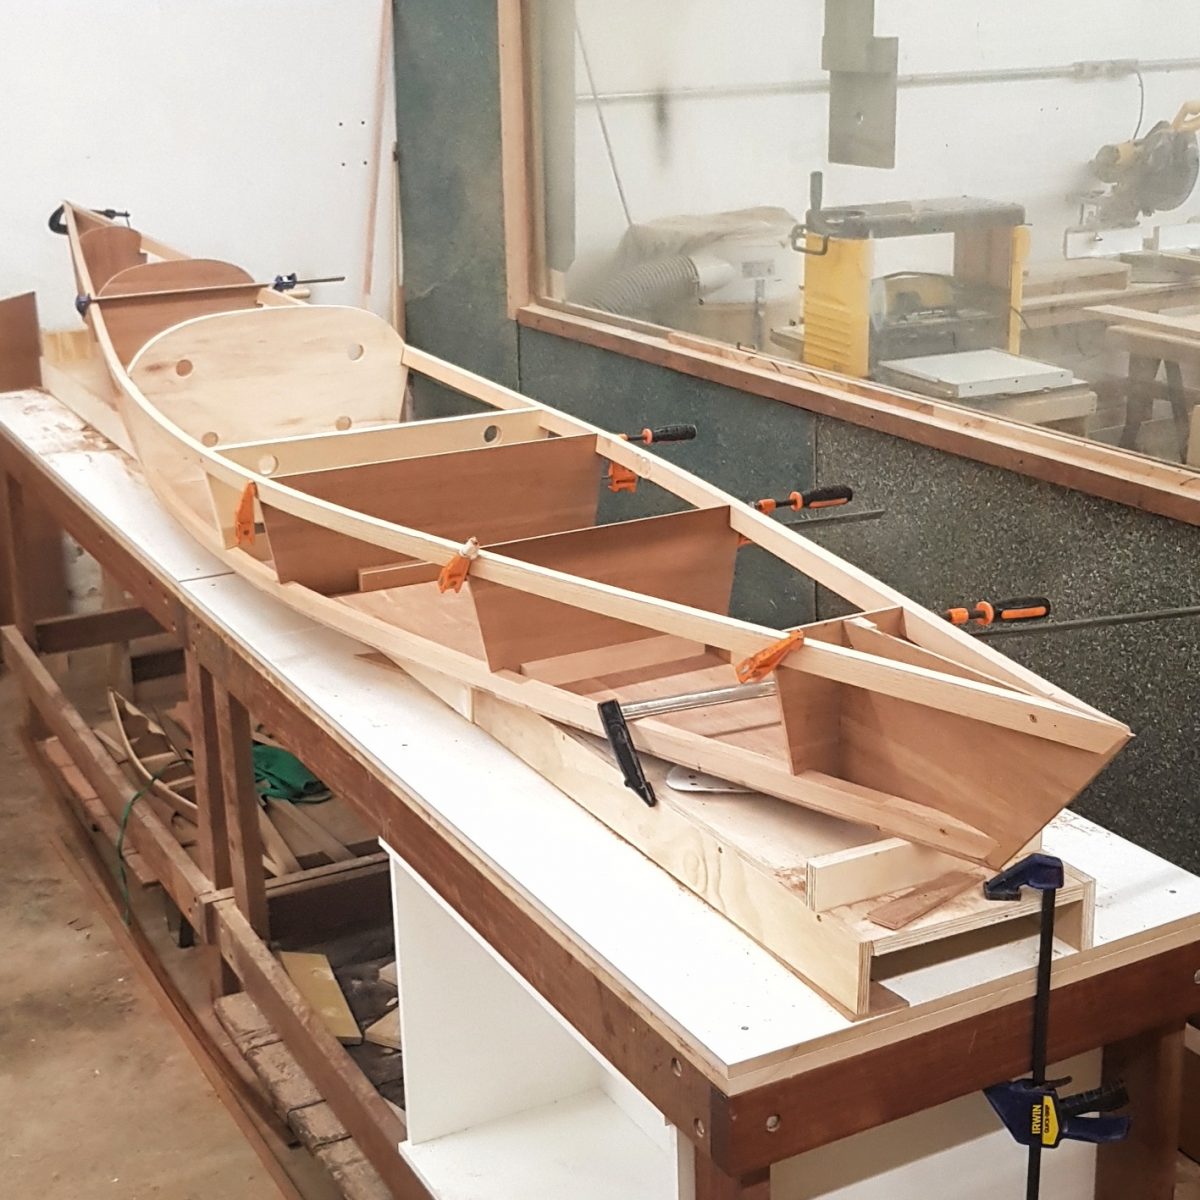
DIY Wooden Canoe Plans: How to Start Your Build Project
Embark on a rewarding journey of craftsmanship and adventure by building your own wooden canoe! The process may seem daunting, but with the right plans and a touch of dedication, you can craft a beautiful and functional watercraft. This article will guide you through the initial steps of your DIY canoe building project.
Choosing Your Plans
The first step is selecting the right plans for your canoe. Consider the type of canoe you envision, whether it's a classic, sleek racing canoe, a sturdy tandem, or a versatile, lightweight solo canoe. Once you have a general idea, browse through various online resources and canoe-building books to find plans that align with your skills and preferences.
Factors to Consider When Choosing Plans:
- Length and Width: Determine the size that suits your needs and paddling style. Longer canoes tend to be faster, while wider ones offer greater stability.
- Construction Method: Explore different techniques such as stitch-and-glue, strip-built, or traditional lapstrake construction. Each method has its own pros and cons in terms of complexity and material requirements.
- Skill Level: Select plans that align with your woodworking experience. Beginners may want to start with simpler designs, while experienced builders can tackle more challenging projects.
- Material Recommendations: Pay attention to the specific wood types and other materials recommended in the plans. Ensure you have access to these materials or are comfortable sourcing alternatives.
Gathering Materials and Tools
Once you've chosen your plans, it's time to gather the necessary materials and tools. The plans will outline the specific wood types, dimensions, and quantities needed for your chosen design. You'll also need a variety of woodworking tools, including:
Essential Woodworking Tools:
- Hand Plane: For shaping and smoothing wood surfaces.
- Table Saw: For cutting wood to precise dimensions.
- Router: For creating intricate shapes and profiles.
- Jig Saw: For cutting curves and intricate shapes.
- Drill: For drilling holes and creating pilot holes for screws.
- Clamps: For securing wood pieces during assembly.
- Sandpaper: For smoothing and finishing surfaces.
Setting Up Your Workspace
A well-organized workspace is crucial for a successful canoe build. Ensure you have a dedicated area with ample room for working on the canoe. Ideally, this space should be well-lit, ventilated, and free from distractions. Consider using a workbench or sawhorses to support the canoe during construction.
Workspace Essentials:
- Work Table or Sawhorses: To support the canoe during construction.
- Protective Gear: Wear safety glasses, hearing protection, and a dust mask when working with power tools.
- Good Lighting: Adequate lighting is essential for precise work.
- Storage: Organize your tools and materials to maintain a clean and efficient workspace.
Preparing the Wood
Before starting construction, it's crucial to properly prepare the wood. This involves smoothing the wood surfaces, checking for any defects, and applying a sealant or varnish to protect the wood from moisture and decay.
Wood Preparation Steps:
- Sanding: Smooth the wood surfaces with sandpaper to remove any rough edges or imperfections.
- Inspecting for Defects: Check for knots, cracks, or other defects that could weaken the canoe.
- Applying a Sealant or Varnish: Apply a water-resistant sealant or varnish to protect the wood from moisture and decay.
Now that you have gathered your materials and tools, established your workspace, and prepared your wood, you are ready to begin building your wooden canoe. Remember to follow your plans carefully, take your time, and enjoy the rewarding process of creating a beautiful and functional watercraft. Happy paddling!


0 comments:
Post a Comment
Note: only a member of this blog may post a comment.